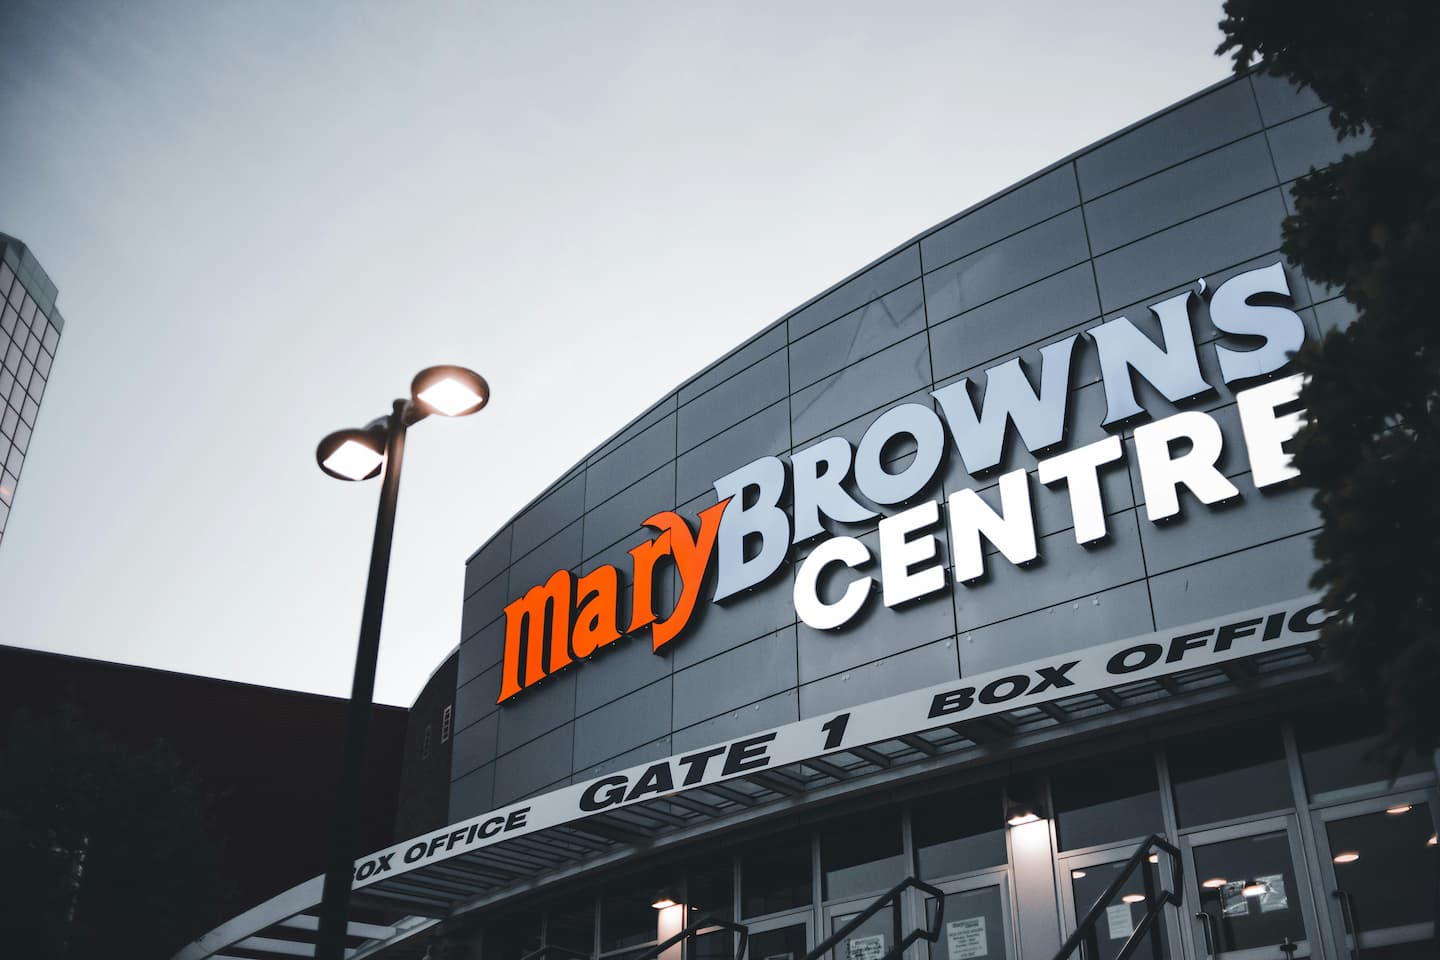
A robust cabinet sign is a critical asset for your brand. Commercial property developers and retail franchisees rely heavily on these structures. An architectural sign box is a permanent, highly engineered fixture. It easily beats temporary banners and simple printed boards. You must seamlessly integrate structural integrity and electrical safety. Furthermore,You also need superior visual lighting to capture audience attention.

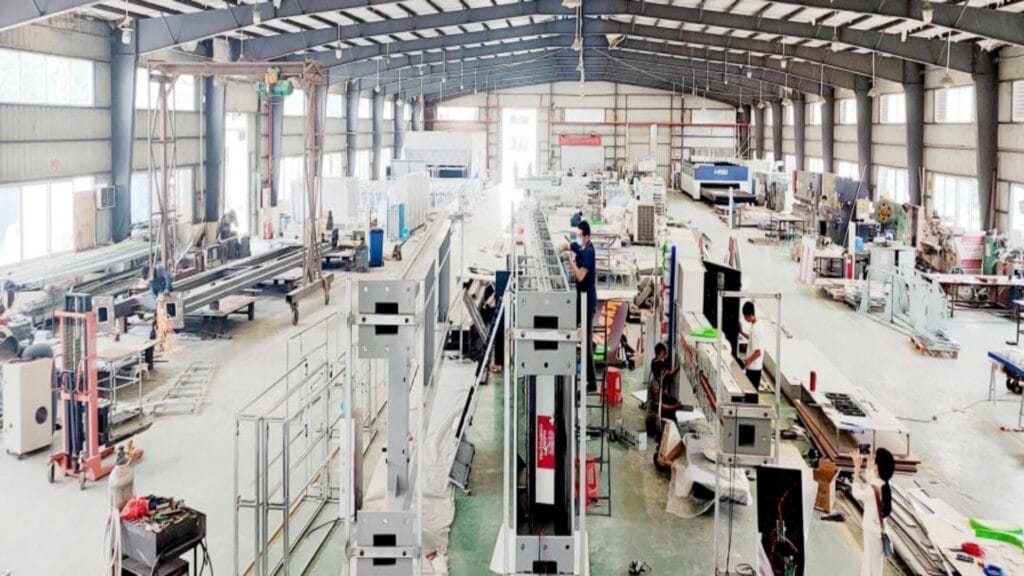
At Grandview, we manufacture commercial-grade signage. We tailor our products for maximum longevity and high performance. We know that a cabinet sign is a sophisticated advertising tool. Additionally,You can mount it flush against a retail wall. You can erect it on a tall highway pylon. Moreover,You can also install it as a low-profile monument. The underlying structural requirements remain rigorous in all these cases.
This technical guide explores the exact details of specifying and mounting these structures. You will learn about extruded aluminum profiles. You will understand primary voltage electrical connections. This manual provides the specific knowledge you need. You can execute a flawless installation using these tips. This ensures your commercial investment yields maximum visibility and durability.
The Structural Architecture of a Cabinet Sign
You must understand the structural anatomy of these commercial units first. This knowledge helps you appreciate the complex installation process. At their core, these structures are heavy-duty, weather-resistant enclosures. Designers explicitly build them to house sensitive electrical components. They also powerfully illuminate a translucent graphic face.
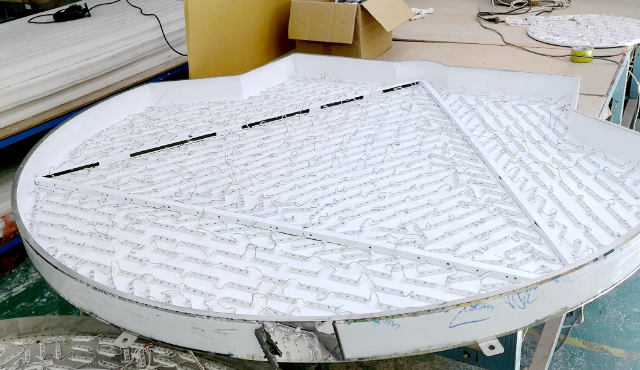
The industry standard utilizes extruded aluminum framing. Aluminum is the preferred substrate for top manufacturers like Grandview. It possesses an exceptional strength-to-weight ratio. It also naturally resists oxidative corrosion and rust. We fabricate the perimeter framework from custom aluminum extrusions. These extrusions feature internal channels. The channels securely hold the plastic faces in place. They also cleverly conceal the mounting hardware.
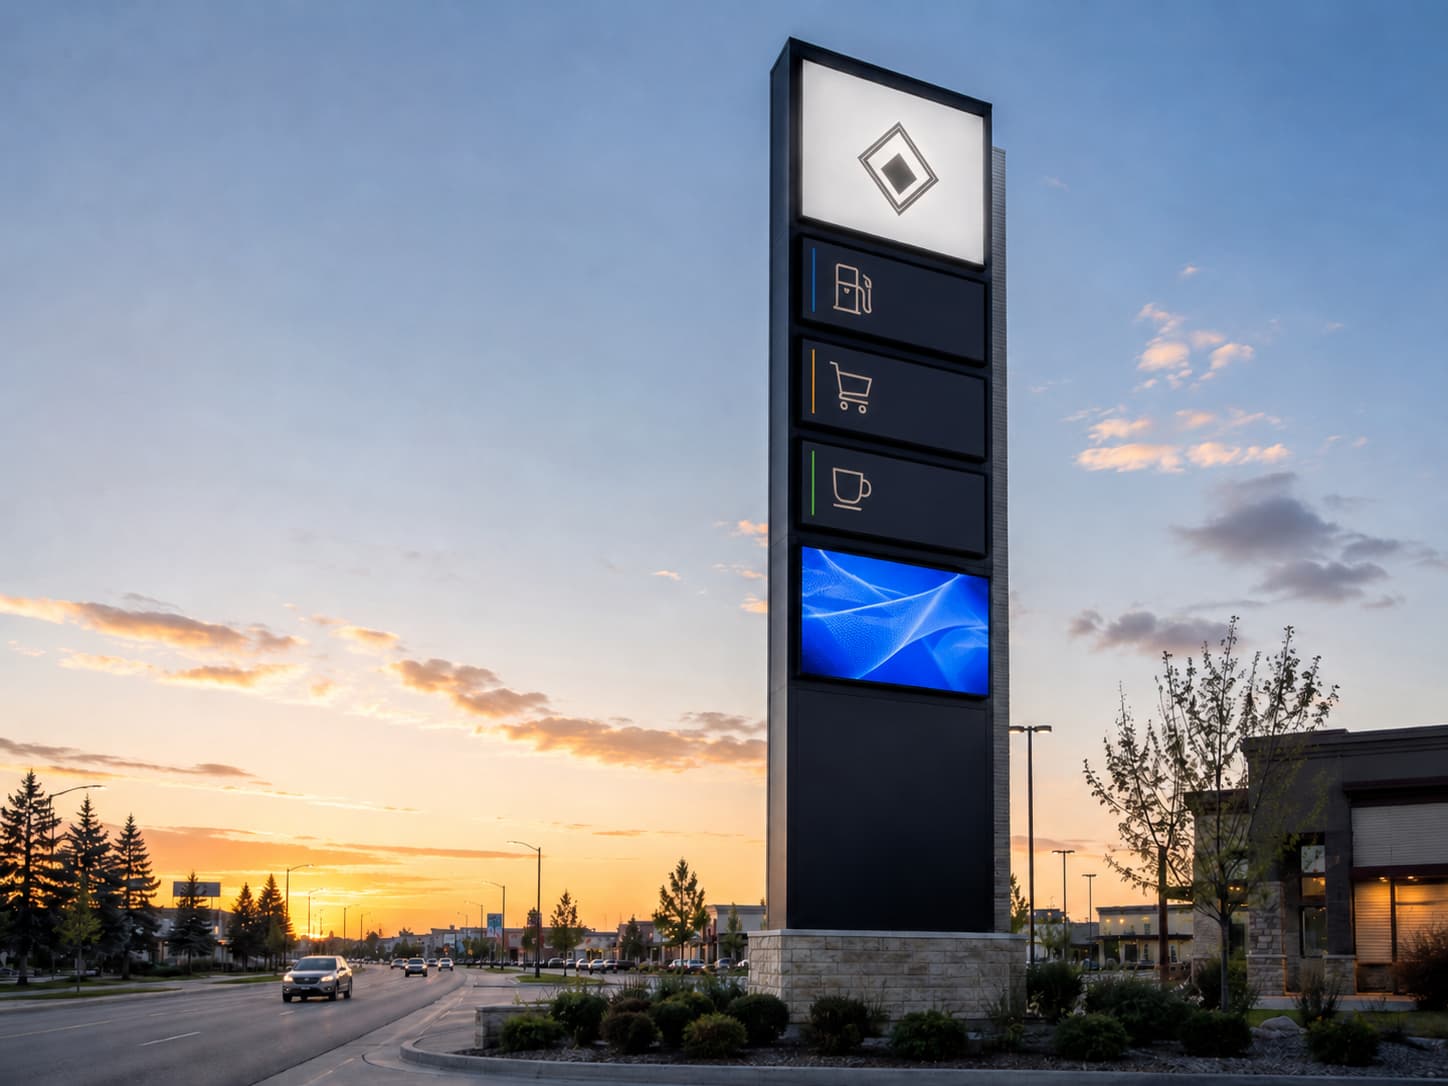
You will typically encounter two primary structural configurations:
- Single-Sided Cabinets: Manufacturers engineer these specifically for wall-mounted applications. The back profile features a solid, heavy-gauge aluminum sheet. This acts as a structural backplate that mounts directly to the building.
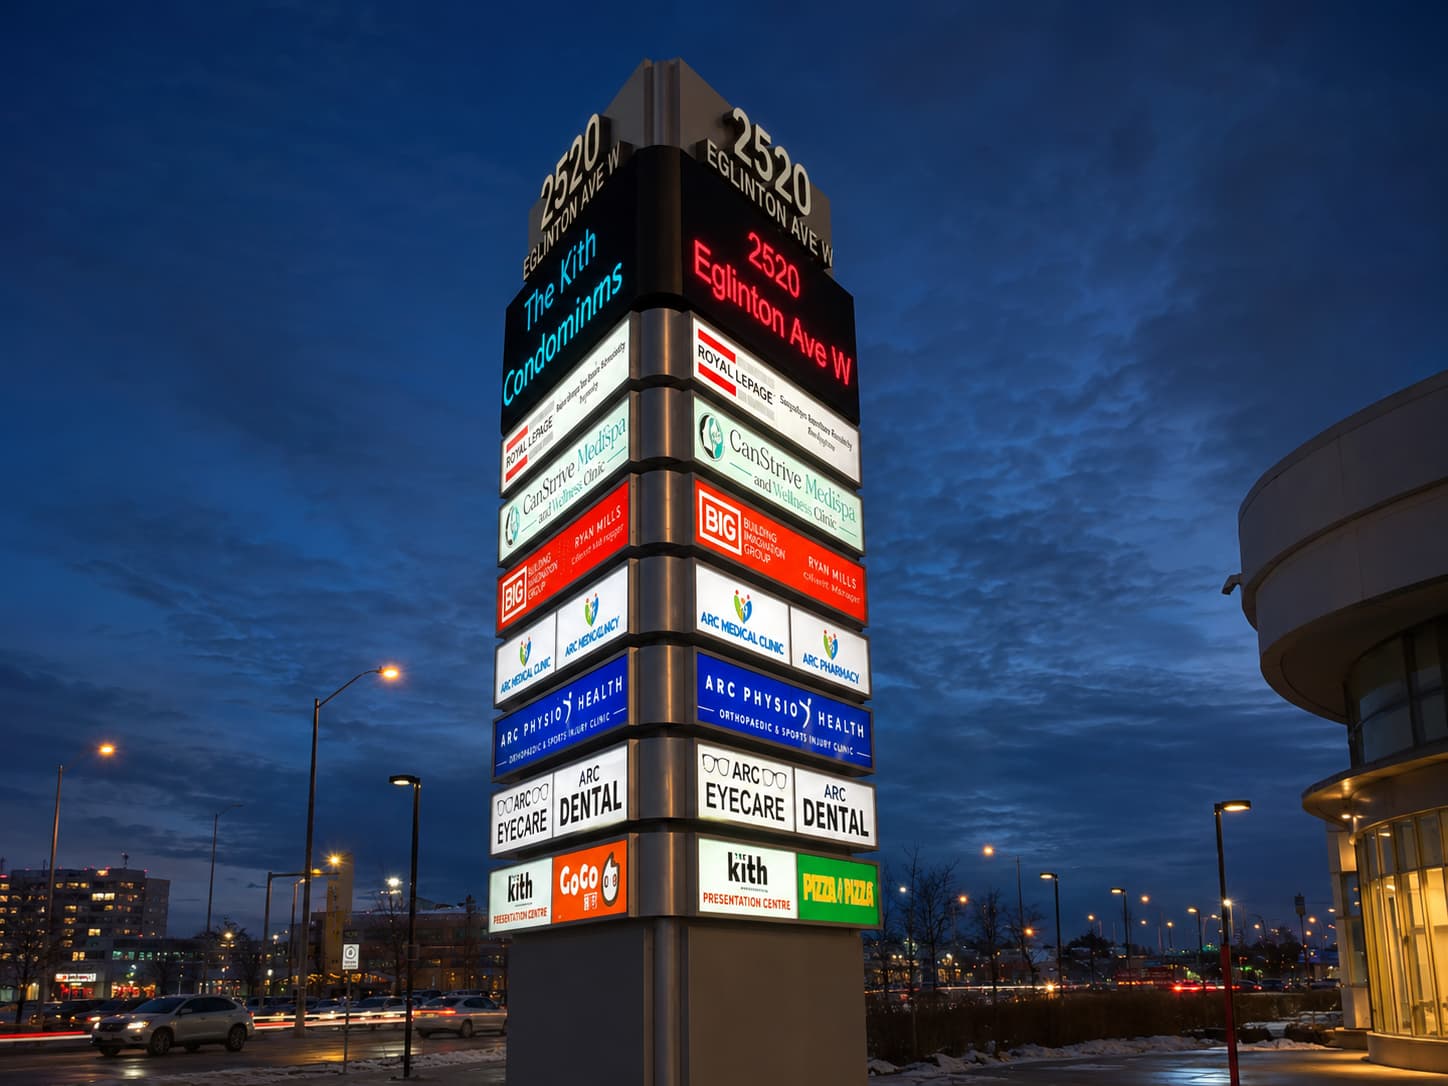
- Double-Sided Cabinets: You utilize these in freestanding applications like pylons. They feature internal structural galvanized steel tubing. This steel withstands significant wind shear and torsional forces. Installers place illuminated faces on both parallel sides.
Furthermore,You must understand the structural weight of your specific cabinet sign. You must also calculate the wind-load displacement. You must complete this foundational step before you drill any holes.
Optimizing Your Cabinet Sign Design and Materials
The visual efficacy of your signage depends heavily on your design choices. The aluminum enclosure provides the necessary structural skeleton. However, the aesthetic impact relies entirely on the translucent face materials.
Standard custom cabinet signs utilize either acrylic or polycarbonate substrates. Acrylic offers excellent optical clarity and strong UV resistance. This prevents the plastic faces from yellowing over time. However, you must choose polycarbonate for larger cabinets located in high-wind regions. Polycarbonate is virtually unbreakable. It offers superior tensile strength compared to standard acrylic.
You must also account for the graphic application method during design. For simple corporate branding, you apply premium translucent vinyl films directly to the plastic. For more complex aesthetics, manufacturers employ precise routing techniques. In this process, the factory cuts the cabinet face from an opaque aluminum sheet. We then push three-dimensional acrylic letters through the routed cavities. This technique creates a highly sophisticated, halo-lit depth.
Furthermore, you must design your cabinet sign with serviceability in mind. Grandview engineers our cabinets with hinged frames or specialized retainer clips. This allows maintenance technicians to easily remove the face later. They can perform electrical maintenance without dismantling the entire primary structure.
Photometrics: Upgrading to an LED Cabinet Sign
The internal illumination technology dictates your daily operational costs. It also determines the visual uniformity of your sign. A poorly illuminated cabinet will exhibit glaring hot spots. It will also show dark shadows that severely degrade your brand image.
Historically, the sign industry relied heavily on fluorescent lamps. Fluorescent technology suffers from massive energy consumption today. It also faces rapid lumen depreciation and severe failures in cold climates.
Today, the standard is the modern LED cabinet sign. Light Emitting Diode (LED) technology completely revolutionized commercial sign manufacturing. At Grandview, we integrate industrial-grade, IP68-rated LED modules. These offer superior photometrics and absolute weatherproofing capabilities.
The major advantages of modern LED integration include:
- Lumen Maintenance: Premium LED modules maintain brightness for over 50,000 operational hours.
- Thermal Management: LEDs convert electrical energy into light with minimal heat generation. This protects the internal acrylic and vinyl components from thermal damage.
- Photometric Distribution: Specialized optical lenses perfectly disperse the light beam. This creates a flawless, even wash of illumination across the entire cabinet sign.
- Return on Investment: LED systems demand a higher initial capital expenditure. However, the massive reduction in electricity easily pays for the upgrade over time.
Pre-Installation Site Audits for a Cabinet Sign
You must execute a comprehensive site audit before mobilizing an installation crew. Installing a massive cabinet sign without proper documentation is a severe liability. It can easily result in municipal fines and mandatory removal.
First, you must determine the structural integrity of the mounting surface. Look at the building fascia closely. Is it solid masonry, reinforced concrete, or corrugated steel? The composition of this wall substrate dictates your anchoring hardware. You cannot mount a 200-pound aluminum cabinet to a hollow stucco facade safely. You must locate the primary structural studs first.
Secondly, you must verify the primary electrical access points. Commercial lighted signs require a dedicated electrical circuit. You must locate the primary junction box quickly. You must also ensure a licensed electrician installs an exterior disconnect switch. Building codes mandate this safety feature. Technicians must have the ability to cut power within sight of the sign.
Finally, you must navigate your local municipal zoning ordinances. Every city maintains strict zoning codes that dictate allowable sign sizes. These rules also control projection depth and illumination intensity. You must submit scaled engineering drawings to the city. You need to secure a formal building permit prior to installation.
Step-by-Step Installation for Wall-Mounted Cabinet Signs
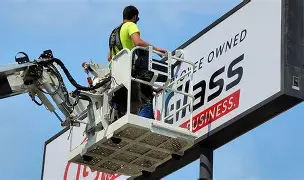
You can commence physical installation once you secure the permits. This process requires extreme precision and heavy-duty lifting equipment. You must maintain strict adherence to occupational safety protocols.
Phase 1: Preparation and Template Alignment
Begin the process by removing the translucent face from the cabinet. You should also remove the internal LED power supplies. This significantly reduces the lifting weight of the cabinet sign. Utilize a precise paper installation template provided by Grandview. Mark the exact drilling coordinates on the building wall. Ensure you level the template perfectly using a laser transit.
Phase 2: Drilling and Hardware Insertion
Drill the primary anchor holes based on your prior site audit. Utilize heavy-duty mechanical wedge anchors for solid brick or concrete masonry. Utilize commercial-grade lag bolts for wood or steel stud construction. These bolts must penetrate directly into the structural framework. Never rely on standard drywall anchors to support an extruded aluminum cabinet.
Phase 3: Securing the Aluminum Enclosure
Hoist the empty aluminum cabinet sign into position. This often necessitates coordinated lifting using a crane. Align the pre-drilled weep holes with the inserted wall anchors. Secure the cabinet tightly against the fascia using heavy-duty washers and nuts. Apply an industrial-grade silicone sealant along the top horizontal edge. This critical step prevents rainwater from pooling behind the electrical enclosure.
Phase 4: Primary Electrical Integration
A licensed electrical contractor must execute the final connections now. Route the primary voltage wires from the exterior disconnect switch. Push them through the designated conduit hole in the back of the cabinet. Connect these primary lines to the LED power supplies inside. Ensure you secure all connections with proper wire nuts. Turn on the power momentarily. You need to verify that the internal LED modules illuminate perfectly.
Phase 5: Face Installation and Final Retention
Carefully lift the polycarbonate face into the cabinet’s retaining tracks. You will secure the face by sliding in the aluminum retainers. Lock them in place with self-tapping screws. Ensure you do not pinch the plastic face too tightly. Plastics expand and contract significantly with daily thermal fluctuations. The face will crack or buckle if it lacks movement tolerance.
Long-Term Maintenance Protocols for a Cabinet Sign
Grandview designs every commercial cabinet sign for longevity. However, they are not entirely maintenance-free structures. You must implement a scheduled maintenance protocol. This preserves the aesthetic integrity and extends the lifecycle of internal components.
You should wash the exterior aluminum extrusions annually. Clean the plastic face using a pH-neutral detergent and a soft cloth. Do not use high-pressure washers on your sign. The extreme force can compromise the vinyl graphics. It can also force water past the silicone weather seals.
Furthermore, you must inspect the weep holes located on the bottom extrusion. Engineers design these small holes to drain internal condensation safely. Insects, dirt, and debris can clog these weep holes over time. This causes internal water accumulation that destroys LED power supplies quickly. Ensure these drainage ports remain entirely unobstructed.
Conclusion: Partnering with Signage Experts
Executing the installation of a commercial cabinet sign is a complex process. It requires structural engineering, municipal compliance, and precise electrical integration. You must understand the critical differences in mounting hardware and LED lighting. This ensures your signage serves as a durable, highly visible landmark.
Partner directly with a dedicated manufacturing facility like Grandview. We guarantee we fabricate your architectural signage with premium extruded aluminum. We utilize state-of-the-art illumination technology. A meticulously installed cabinet sign is a permanent, revenue-generating asset. It absolutely secures your dominant presence in the commercial retail landscape.